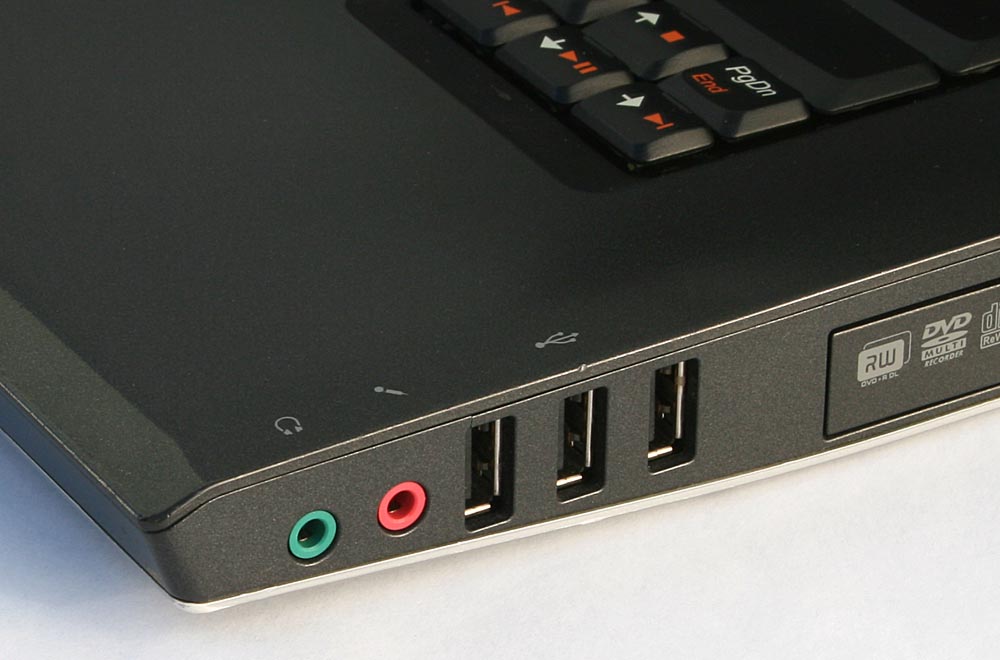
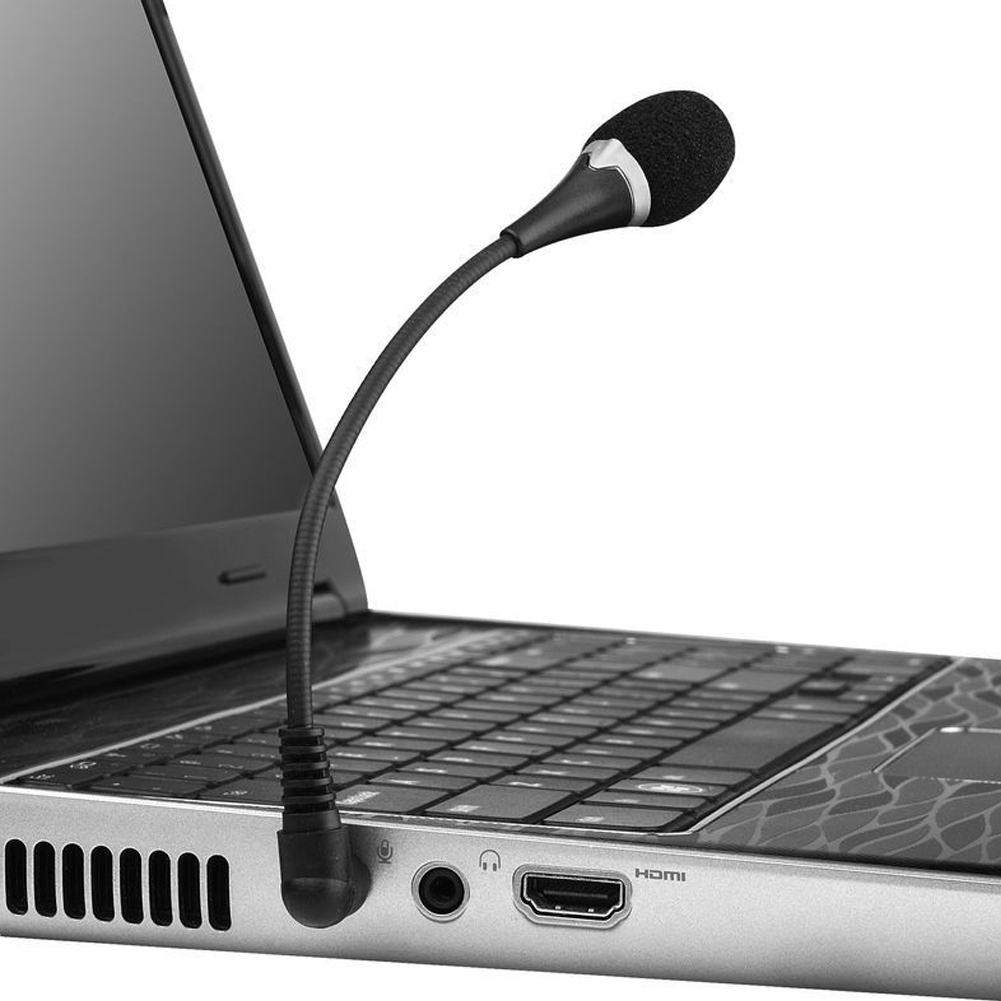
To make a microphone on a laptop or computer, you need to plug into the pink jack on your pc. if you have a USB microphone that can easily plug into a USB port, that is easy for testing of the microphone on laptop or PC. In some cases it is required to use best DACs, to transfer digital signal to analog.
Once you have a plugged microphone and start testing it by playing suitable music in the background to understand the stereo system and built-in microphone. Let us look into simpler details of how you can do that.
How to test the microphone on the laptop?
To test the microphone on the laptop, you need to plug the microphone into your computer device, and it will sound accordingly to the window installed in your PC. you need to follow up steps mentioned below for testing the microphone into windows seven and windows vista.
- Look if the microphone is connected appropriately with your device or not.
- choose for ease of access by opening the control panel
- further, you need to choose for set up microphone on PC that is found beneath speech recognition heading
- you need to choose for the type of microphone you are using
- now tap on the Next button
- speak way “test, test” to check the sound; however, you need to wait until the green bar goes, and you would get visual feedback that would confirm if the microphone is working or not.
- Now you need to check for the wizard or just continue to cancel. When feeling satisfied, you can pick on the wizard or keep clicking next until you reach the finish button.
All of these steps can come in handy for connecting microphones in the windows seven and windows vista. However, for connecting the microphone to windows XP, consider following the below-highlighted steps.
- Plug the microphone into a computer device and stuff.
- look for control’s panel sound and audio devices icon
- tap on voice tab
- click on test hardware button as soon as sound hardware test wizard appears
- tap on next button for testing
- once the working of the microphone is confirmed you need to tap on next button
- lastly, just tap on the finish button
These are simple steps that can come in handy to set up a microphone on to your computer and enjoy an amazing listening experience on your pc or computer device. You can surely be considerable about the details stated above for connecting to your microphones on to the computer; however, for connecting windows seven and windows vista, you need to follow up with different instructions, whereas, for windows X, it is different both of them is stated above.